How to Ensure Tight Seams in the Roofing Underlayment

How to Ensure Tight Seams in the Roofing Underlayment
A watertight roofing underlayment is one of the most important factors in building a durable, leak-free roof. The underlayment acts as the home’s final barrier against rain, snow, and moisture that can slip beneath the shingles or other roof coverings. But even the best underlayment material can fail if the seams aren’t properly sealed. Here’s a practical guide to ensuring tight seams in your roofing underlayment—both during installation and through ongoing maintenance.
Understanding the Role of Roofing Underlayment
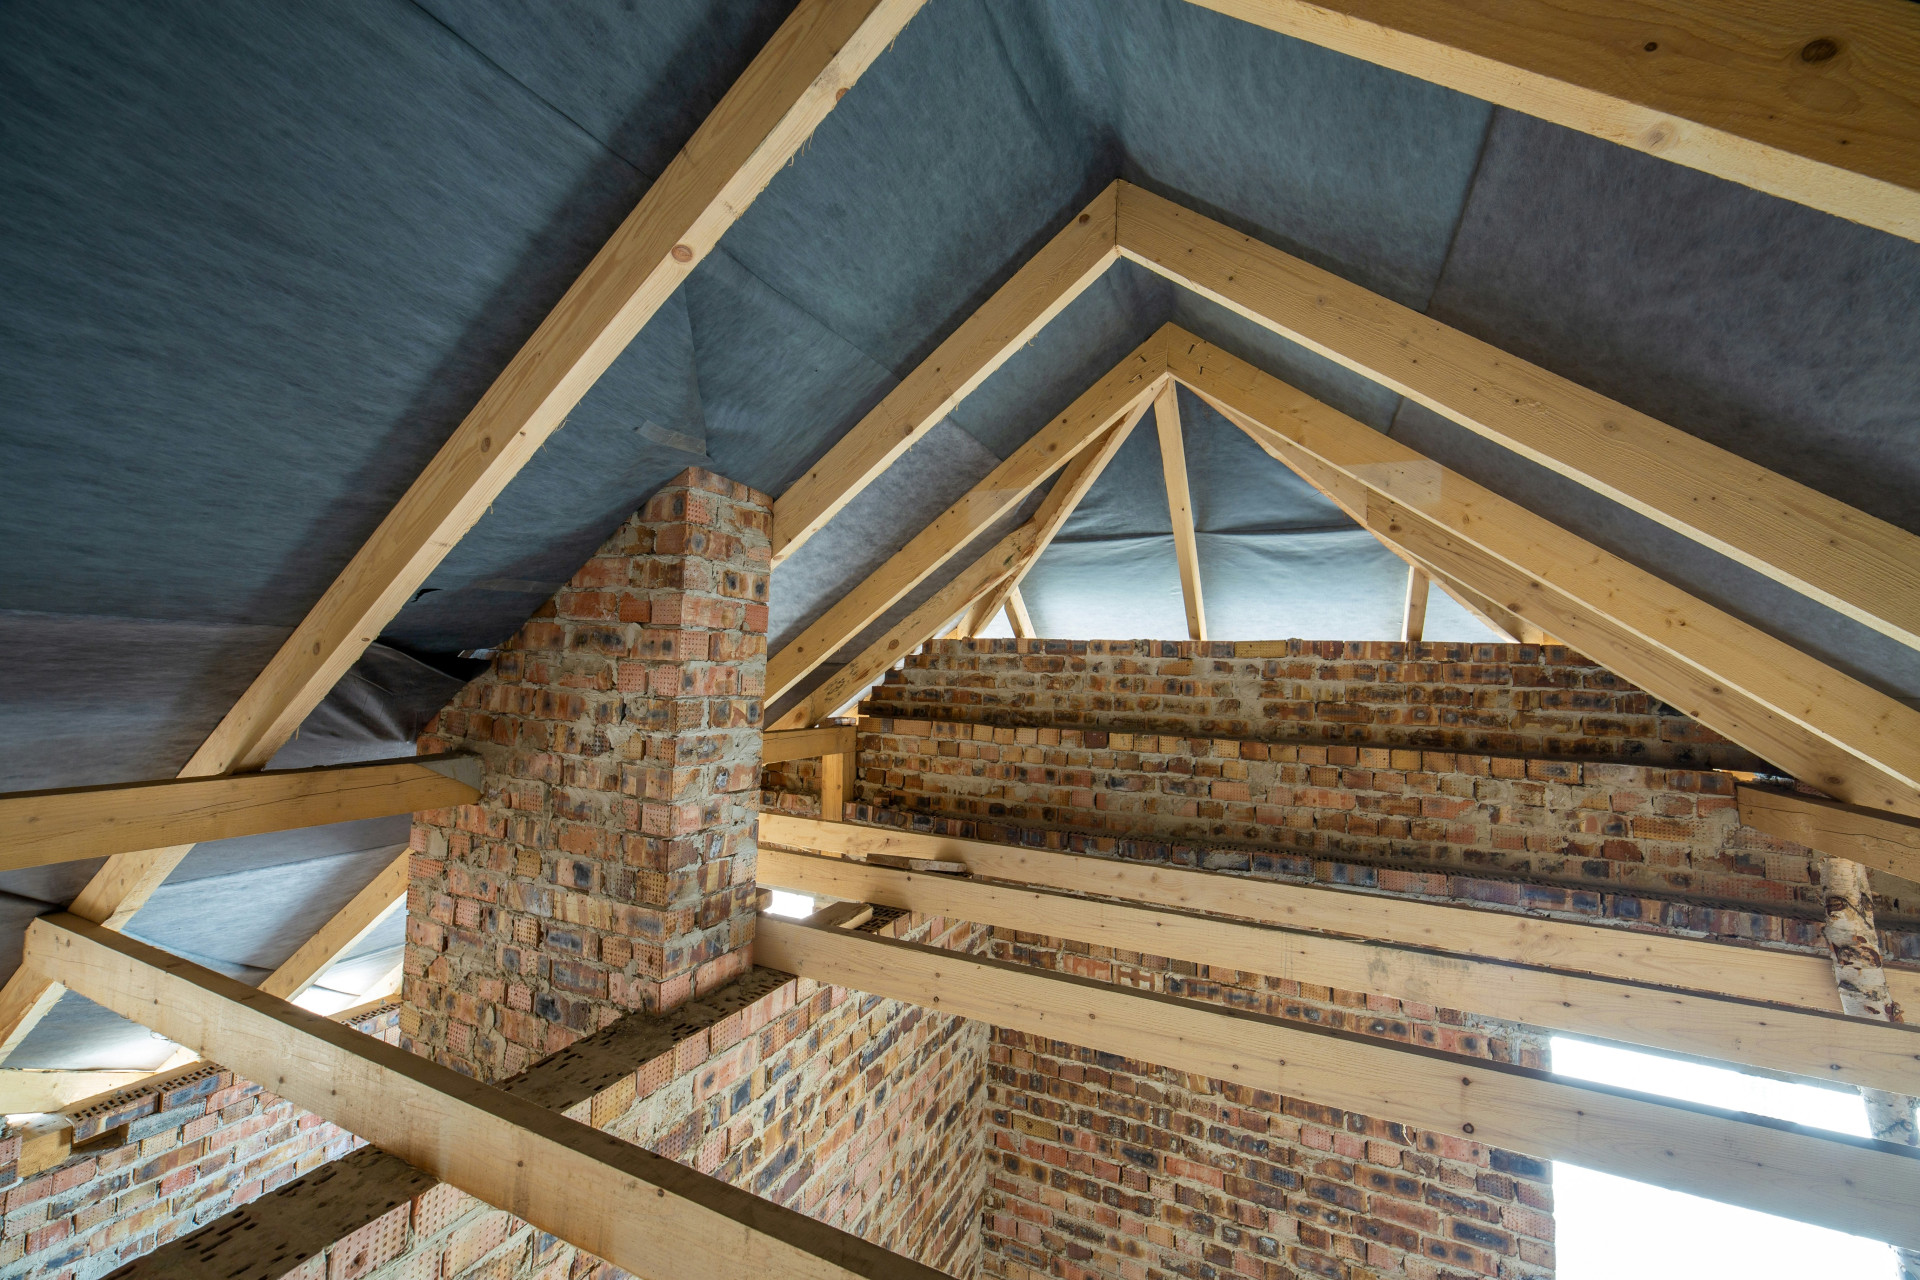
The underlayment sits beneath shingles, metal panels, or other roofing materials and protects the roof deck from moisture. It channels any water that gets past the outer roofing layer down to the eaves and gutters. That’s why every seam, overlap, and penetration must be completely sealed—otherwise, water can find its way into the insulation or wood structure.
There are two main types of underlayment used in U.S. roofing:
- Synthetic underlayment, made from polypropylene or polyethylene, is lightweight, durable, and resistant to tearing. It’s now the most common choice for asphalt shingle and metal roofs.
- Felt underlayment (asphalt-saturated paper) is the traditional option, still used on some projects, though it’s heavier and less resistant to moisture over time.
Regardless of the type, the seams are the most vulnerable points—and they require special attention.
Choose the Right Materials
A tight seam starts with the right materials. Always use tapes, adhesives, and sealants that are approved for the specific underlayment you’re installing. Manufacturers design their systems to work together, ensuring the best adhesion and long-term performance.
- Seam tape should be UV- and weather-resistant so it doesn’t lose adhesion over time.
- Roofing sealant or adhesive is often used around penetrations, valleys, and wall transitions.
- Fasteners and battens can provide additional mechanical sealing, especially at the eaves and ridge.
Avoid mixing products from different manufacturers—compatibility issues can lead to poor adhesion and premature failure.
Proper Installation of Seams
When installing the underlayment, precision is key. Small mistakes can lead to big problems once the roof is closed up.
- Clean and dry surfaces: Tape and adhesives only bond properly to clean, dry surfaces. Remove dust, sawdust, and moisture before sealing.
- Correct overlap: Follow the manufacturer’s instructions for overlap—typically 4 to 6 inches horizontally and 6 inches vertically. Too little overlap increases the risk of leaks.
- Press seams firmly: Use a hand roller or firm pressure to ensure the tape adheres fully and no air pockets remain.
- Avoid wrinkles and stretching: Wrinkled or stretched underlayment can create tension that later opens the seam. Keep the material flat and even.
- Seal around penetrations: For pipes, vents, and skylights, cut the underlayment precisely and seal with flashing boots or specialized tape.
These details may seem minor, but they determine whether your roof stays watertight for decades.
Inspection and Maintenance
Even a properly installed underlayment should be inspected periodically—especially after severe weather or during roof repairs. Look for signs of moisture, staining, or dark spots in the attic, which may indicate leaks.
If you find a loose seam, it can often be repaired with new tape or sealant, provided the area is clean and dry. For larger issues, contact a roofing professional to assess whether a section of the underlayment needs replacement.
Common Mistakes to Avoid
Many underlayment leaks result from the same avoidable errors:
- Installing in wet or humid conditions.
- Using the wrong tape or adhesive.
- Insufficient overlap between sheets.
- Poor sealing around roof penetrations.
- Skipping post-installation inspection.
Avoiding these mistakes can save you time, money, and frustration down the road.
A Tight Underlayment Is an Investment in Your Home
A roofing underlayment with tight seams doesn’t just prevent leaks—it protects against mold, rot, and energy loss. It’s an investment in your home’s longevity and indoor comfort. With the right materials, careful installation, and regular inspection, you can ensure your roof stays watertight—even when the weather turns harsh.